КАТЕГОРИИ:
Архитектура-(3434)Астрономия-(809)Биология-(7483)Биотехнологии-(1457)Военное дело-(14632)Высокие технологии-(1363)География-(913)Геология-(1438)Государство-(451)Демография-(1065)Дом-(47672)Журналистика и СМИ-(912)Изобретательство-(14524)Иностранные языки-(4268)Информатика-(17799)Искусство-(1338)История-(13644)Компьютеры-(11121)Косметика-(55)Кулинария-(373)Культура-(8427)Лингвистика-(374)Литература-(1642)Маркетинг-(23702)Математика-(16968)Машиностроение-(1700)Медицина-(12668)Менеджмент-(24684)Механика-(15423)Науковедение-(506)Образование-(11852)Охрана труда-(3308)Педагогика-(5571)Полиграфия-(1312)Политика-(7869)Право-(5454)Приборостроение-(1369)Программирование-(2801)Производство-(97182)Промышленность-(8706)Психология-(18388)Религия-(3217)Связь-(10668)Сельское хозяйство-(299)Социология-(6455)Спорт-(42831)Строительство-(4793)Торговля-(5050)Транспорт-(2929)Туризм-(1568)Физика-(3942)Философия-(17015)Финансы-(26596)Химия-(22929)Экология-(12095)Экономика-(9961)Электроника-(8441)Электротехника-(4623)Энергетика-(12629)Юриспруденция-(1492)Ядерная техника-(1748)
Sites I looked at
|
|
|
|
ROOF
DOOR
HINGES
PLYING
BASE
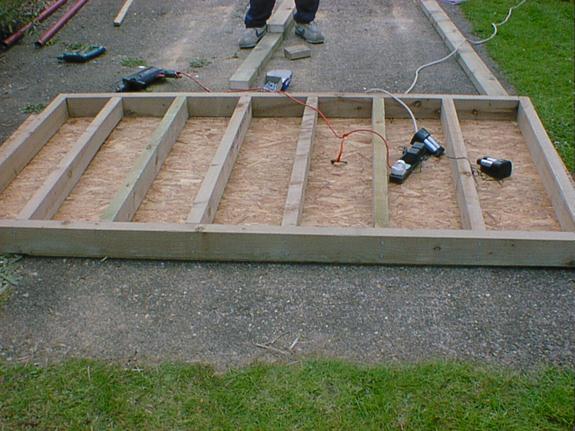
Figure 4 framework for the base
1. cut 1 2x4 in half(making it 4’)
2. cut 19” off 2 2x4s(making them 77” long)
3. cut 3 2x4s into 6 44” pieces
4. use the 4’ and the 77’’to make a rectangle, and screw the 6 44” pieces in about 1’ apart. It should look something like this 
5. screw in a OSB sheet to the bottom(this is to level it out with the walls
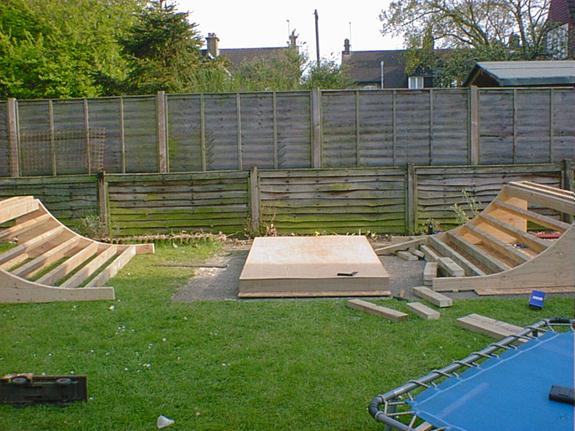
Figure 5 framework complete
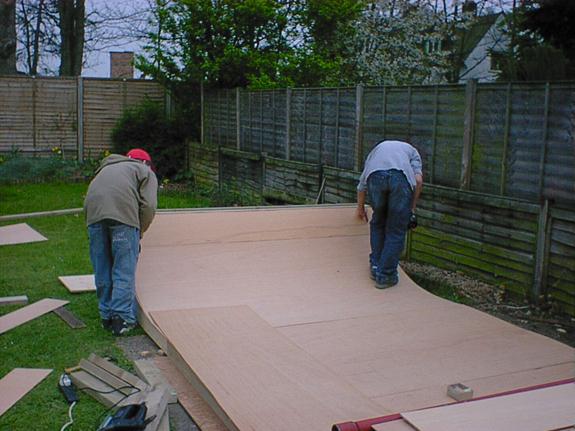
Figure 6 plying the tranny
- now we can ply the 2 halves and the flat bottom. Lay a piece of 4mm ply horizontally across the tranny, and make sure it is just below the coping. Screw this down
- lay another sheet down horizontally and make sure that the top of this sheet is flush with the bottom of the first sheet
- cut off the access which is sticking out
- now lay 1 sheet of 4mm ply on vertically on the tranny structure, and screw it down
- screw down another sheet next to it and cut off the access
- do the same for the other tranny
- screw down 2 pieces of 4mm ply on the flat bottom
- use the access 4mm ply you have cut off from the plying the trannys to ply the decks
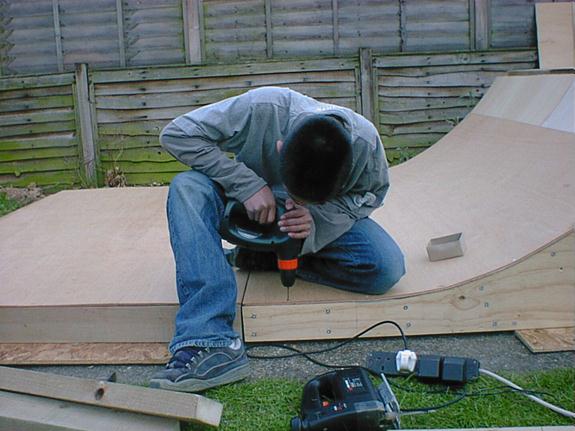
Figure 7screwing down the ply
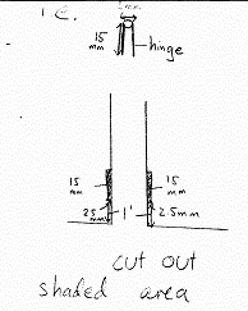
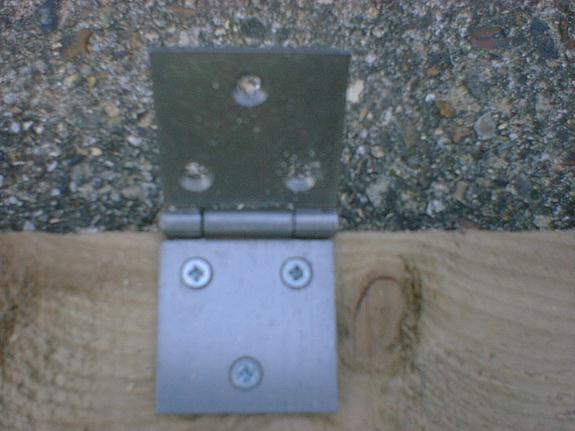
Figure 8 hinge detail
1. measure the diameter of the round bit of your hinge(h)
2. measure the length of the flat bit (LFB)
3. 1’ in from the edge of the tranny wall and the flat bit measure a box that is LFBxradius of h
4. now measure the width of the flat bit of the hinge(WFB), and make the box go down as long as the WFB is
5. chisel this box out
6. do the same for the other 3 corners of the tranny, and the other 3 corners of the flat bit and then screw in the hinges
7. test to see weather the hinges work
- join the 2 doors you cut earlier together, and then fit them into place
- do the same with the other doors
- fold the ramp up, and on top of the structure, lay down 2 sheets of OSB.
- draw around these with a pencil
- on the outside of this line screw in some leftover 2x4s and make sure that there is at least one on each side where the pieces of OSB join
These were my original plans
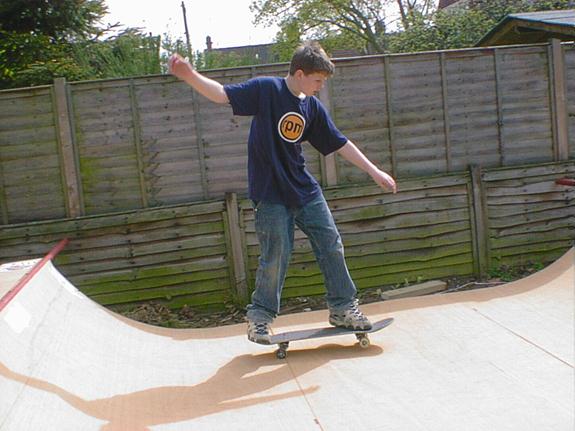
Figure 9 tom pumping the ramp
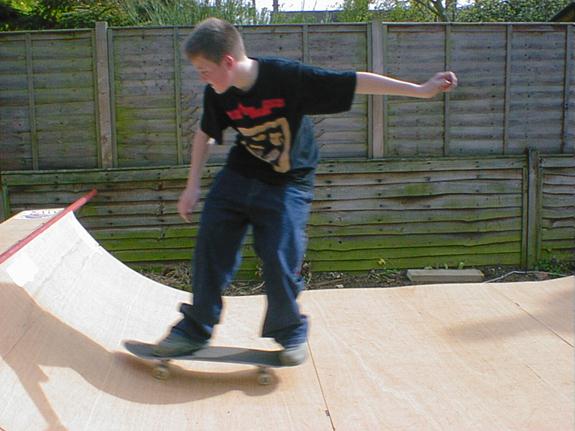
Figure 10 josh pumping the ramp
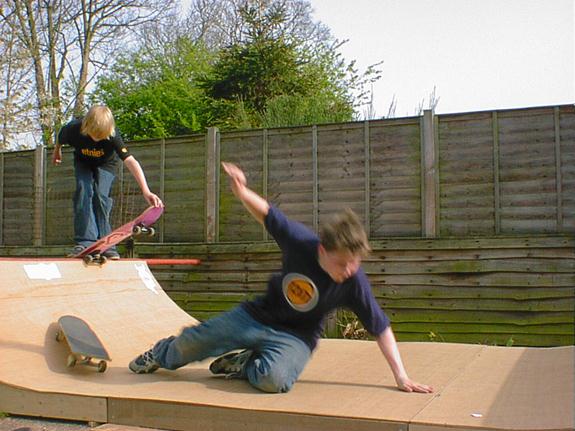
Figure 11 tom stack on the ramp
www.Slapmagazine.com/newsite/woodshop
www.heckler.com/ramps/index
www.rampplans.org
|
|
|
|
|
Дата добавления: 2014-12-23; Просмотров: 311; Нарушение авторских прав?; Мы поможем в написании вашей работы!